Whether you’re a regular at the gym or simply reaching overhead during daily life, shoulder pain can mess with your routine. Strains, overuse, or awkward movements can lead to tension, soreness, and limited range of motion. When that happens, taping your shoulder can be a smart way to support your body as it recovers.
Taping isn’t just for athletes or pros. It’s a practical, easy-to-learn technique that helps reinforce natural movement patterns while providing light support to muscles and joints. Think of it as giving your shoulder a little extra stability so it can heal more comfortably—and help you stay active along the way.
Let’s break down what taping does, why it matters, and how to do it step by step.
Why Should I Tape My Shoulder After an Injury?
Your shoulder joint is incredibly mobile—and because of that flexibility, it’s also prone to instability. After an injury or strain, the muscles around your shoulder can become tight or fatigued. That’s where taping comes in.
Taping helps:
- Encourage healthy posture and alignment
- Support muscles without limiting mobility
- Help soothe feelings of tension or soreness
- Increase confidence during movement or light activity
It’s not a cure or a fix—it’s a tool. Taping supports what your body is already working hard to do: recover, stabilize, and regain strength.
When Should You Tape Your Shoulder?
Taping is most useful in the early to mid stages of recovery. You can use it a few days after the discomfort starts, before light workouts or physical therapy, during everyday activity that puts stress on the shoulder, or as part of your post-workout recovery routine.
If you’re dealing with sharp pain, intense swelling, or sudden weakness in the arm, it’s best to check in with a healthcare provider before applying tape.
Step-by-Step: How To Tape Your Shoulder
This taping method is for general shoulder discomfort or support. If you’ve had a specific injury or diagnosis, check with a physical therapist for a customized taping pattern.
Before you tape your shoulder, gather your materials. You don’t need much, but a few small details can make a big difference in how effective (and comfortable) the tape feels.
Here’s what you want to get started:
- Kinesiology tape (precut strips or a roll)
- Scissors (if using a roll)
- Clean, dry skin (free of lotion or oils)
- A mirror—or a friend—to help with placement
- Optional: skin prep spray or alcohol wipes for better adhesion
Step 1: Prepare the Skin
Clean the skin thoroughly with soap and water. Dry it completely. Your shoulder should be in a neutral position.
Step 2: Apply the First Strip (Support Strip)
Cut a strip about 10 to 12 inches long. Anchor it just below the deltoid (outer upper arm) with no stretch. From there, guide the tape up and over the top of your shoulder, ending near the upper part of your shoulder blade. Use gentle pressure to apply the tape and rub it to activate the adhesive.
Step 3: Add a Stability Strip
Cut another strip to apply across the front of your shoulder. Start near the collarbone, lay it over the front deltoid muscle, and anchor it toward the outer upper arm. Use light tension. This strip adds support across the front, where many people feel strain or tightness.
Step 4: Optional Posture Support
Want a little help with posture? You can add a third strip that starts just behind the shoulder and crosses diagonally toward the chest. This helps guide the shoulder into better alignment and can reduce stress on surrounding muscles.
Step 5: Check for Comfort
After applying the tape, gently raise and lower your arm. It should feel supported—not pinched or restricted. If you notice any itching, redness, or discomfort, remove the tape.
Other Ways To Support Shoulder Recovery
Taping your shoulder is one piece of the recovery puzzle. When you combine it with other simple strategies, you give your body more tools to bounce back—stronger, steadier, and more supported.
Here are a few tried-and-true ways to keep your recovery on track:
Cold Therapy (First 24 to 48 Hours)
In the early stages of discomfort, cold therapy can help ease tension and reduce surface soreness. A cold pack or wrap applied for 15 to 20 minutes at a time may help calm irritated muscles after overuse or strain.
Heat Therapy (After Initial Soreness Subsides)
Once the acute stage has passed, heat can help promote muscle relaxation and flexibility. This is especially helpful before stretching or rehab exercises, as it prepares the tissue to move more freely.
Gentle Movement and Stretching
Don’t underestimate the power of low-impact movement. Gentle stretches and range-of-motion exercises can keep your shoulder from tightening up too much during recovery. Just make sure you’re moving within a pain-free range.
Strength-Building Exercises
Once soreness fades, you can gradually reintroduce resistance training with shoulder-focused strength building exercises. This can help rebuild strength and help prevent future injuries. Focus on form and control—especially for the rotator cuff, which plays a big role in shoulder stability. Start light and listen to your body.
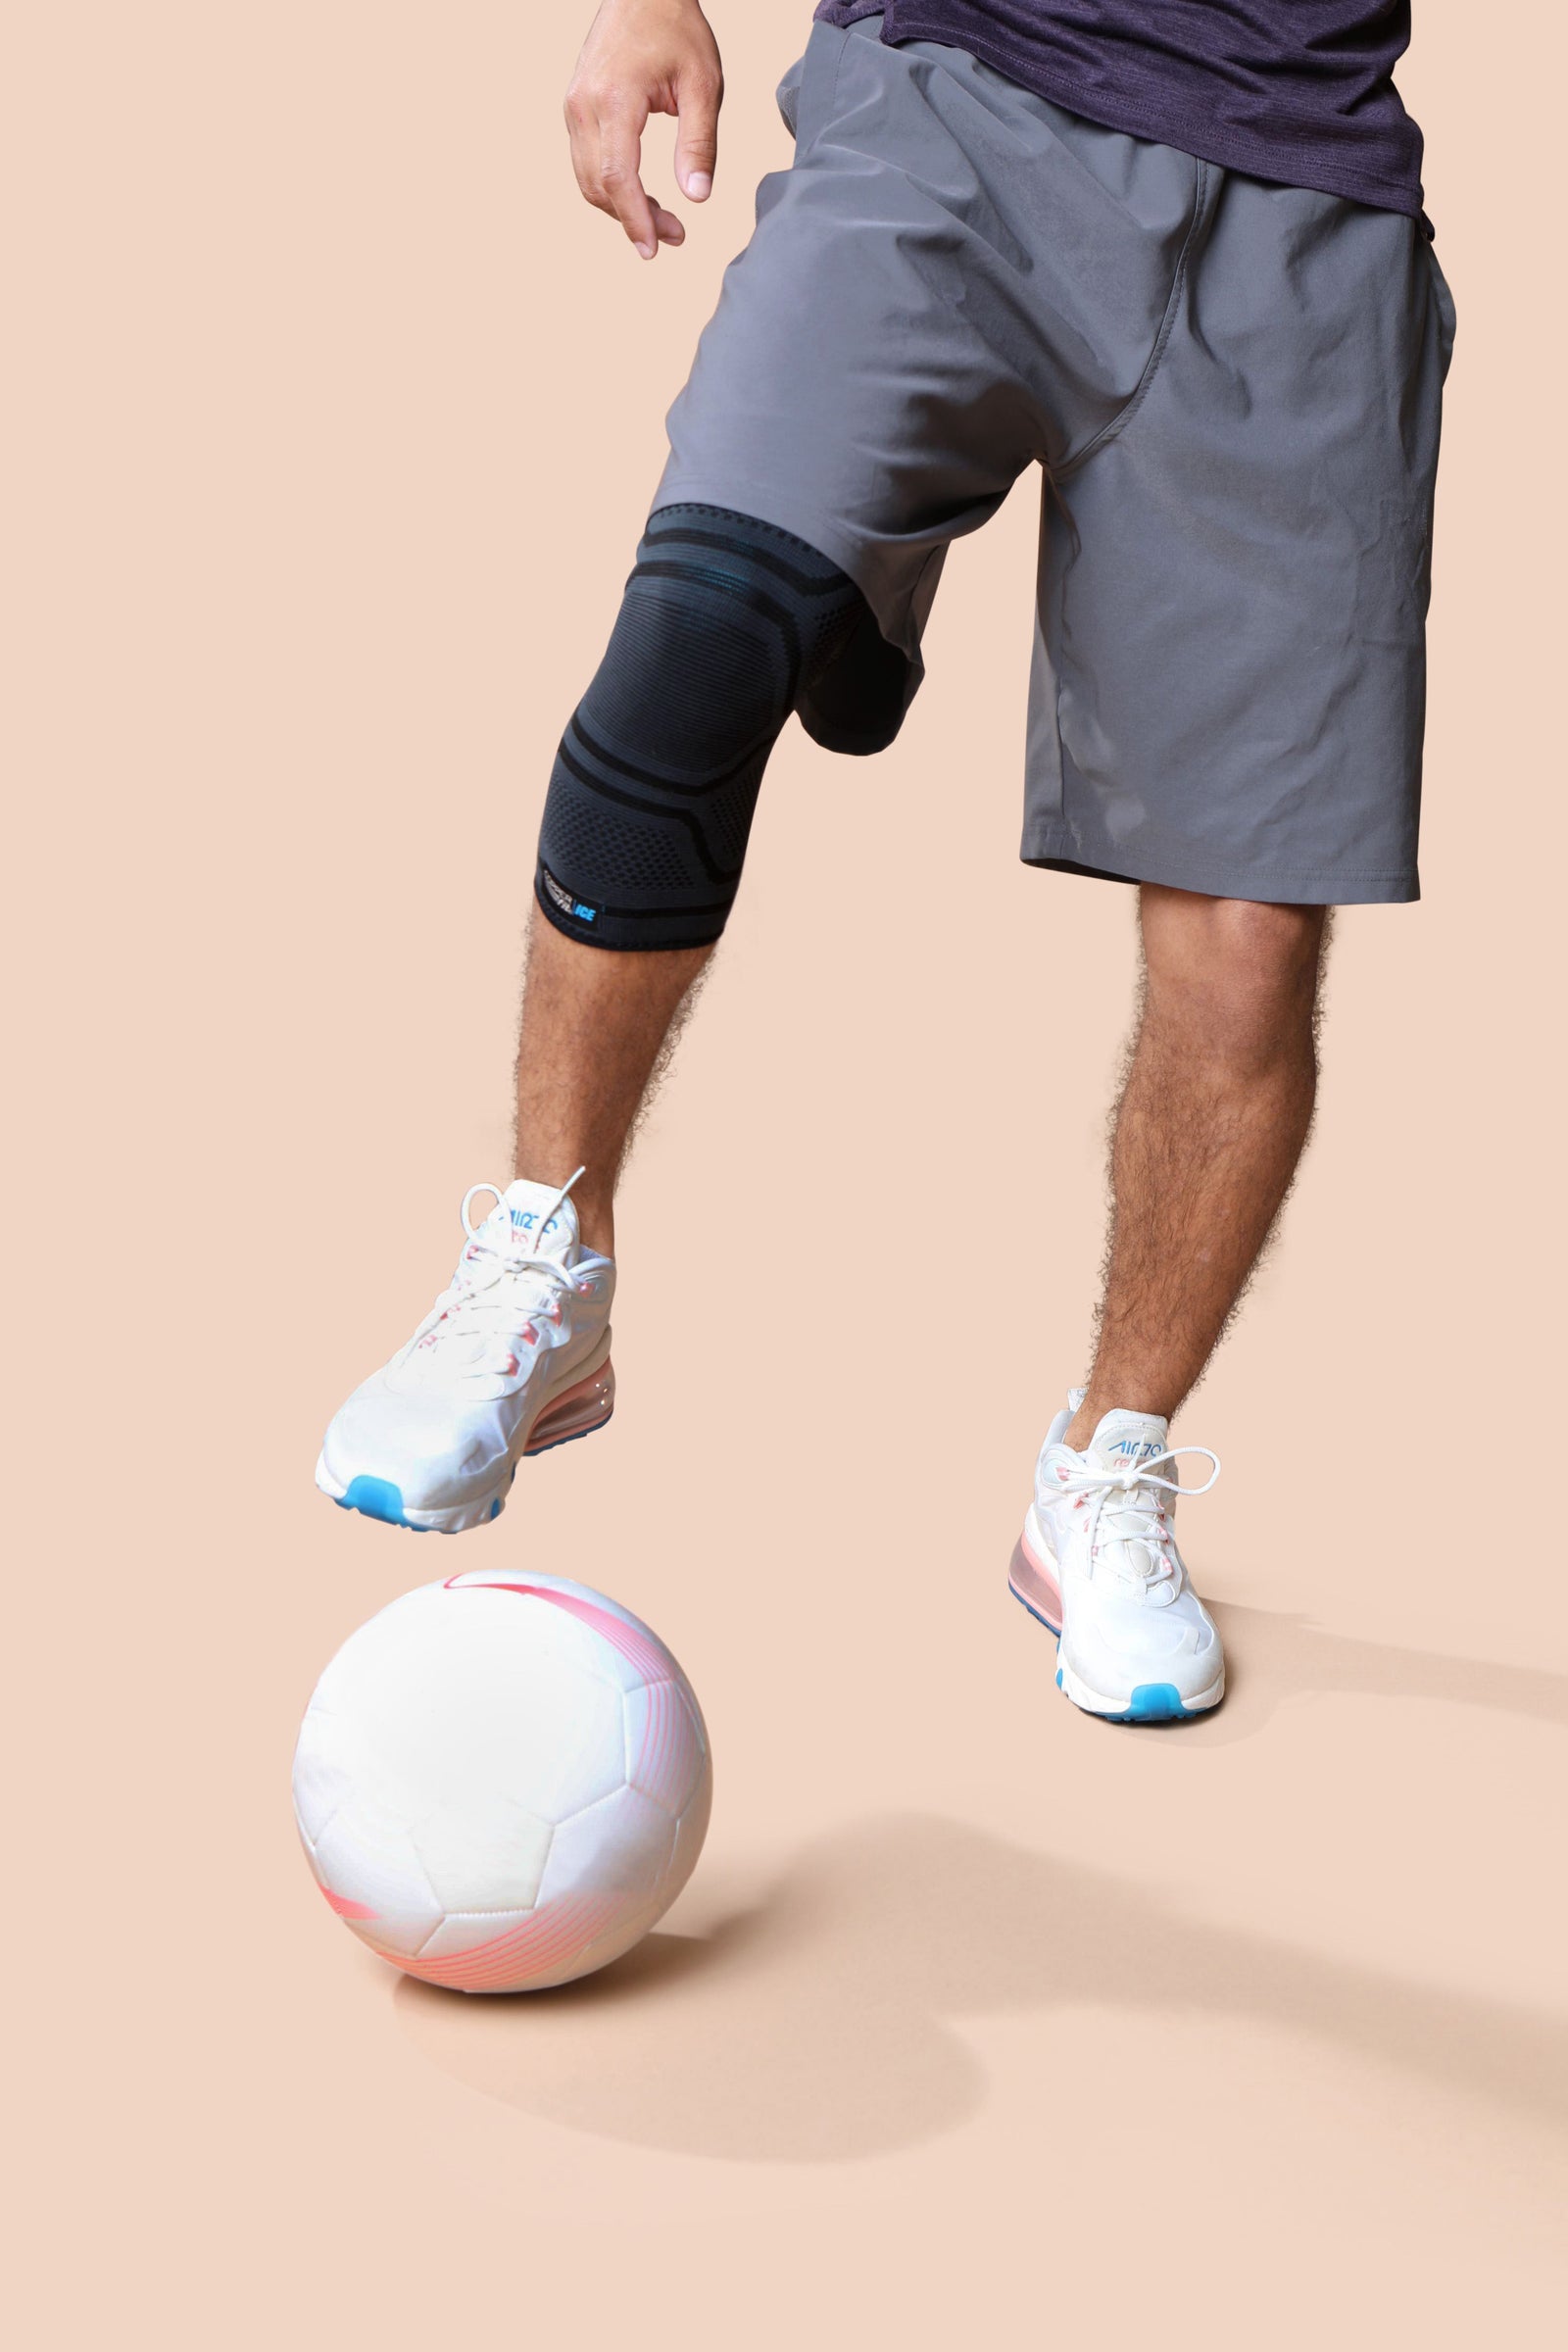
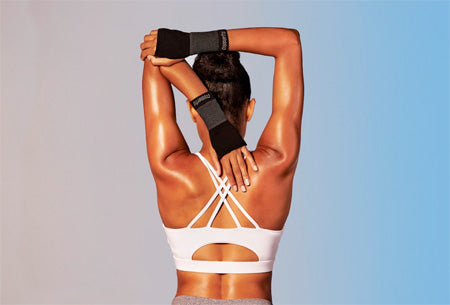
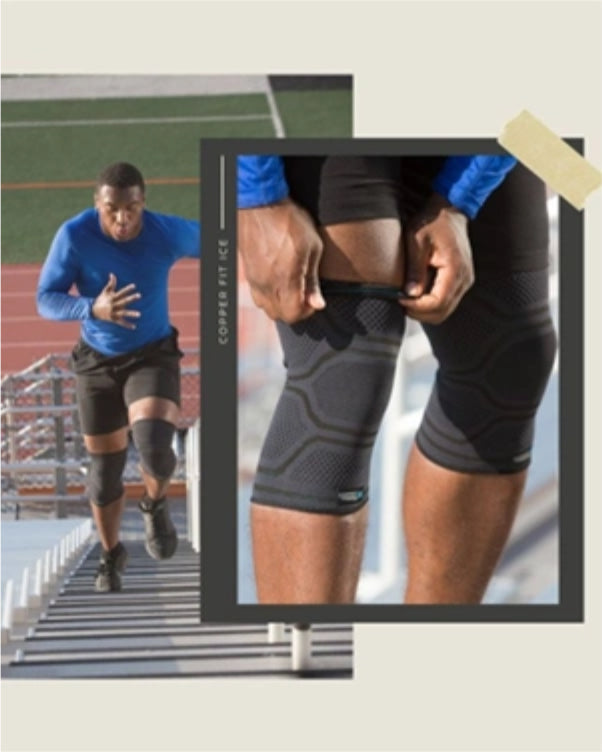
Compression Gear for Recovery Support
When worn during activity or rest, compression sleeves or wraps can support healthy circulation, which is key to your body’s natural recovery process. Compression may also help soothe lingering soreness and tension—two things that often hold people back from staying active.
How Does Compression Support the Healing Process?
When your muscles and joints are recovering from stress or injury, they need oxygen, nutrients, and a steady flow of blood to the area. That’s where targeted compression can help.
Research suggests that gentle, consistent compression helps support healthy blood flow to the affected area by carrying oxygen and nutrients to the muscle or joint. This can help encourage relaxation and soothe discomfort during activity or rest.
Like taping, shoulder wraps are also designed to provide added stability and encourage proper lifting form to keep your shoulder feeling its best. Whether you're doing light exercises, heading out for a walk, or relaxing at home, compression gear adds an extra layer of support without restricting your mobility.
When To See a Healthcare Professional
While shoulder taping and self-care can go a long way, it’s important to know when to get additional help.
If you experience any of the following, it’s worth checking in with a licensed provider:
- Sharp, shooting, or worsening pain
- Visible swelling that doesn’t subside
- Difficulty raising or moving your arm
- Numbness, tingling, or weakness
Trust your instincts. You know your body best.
The Bottom Line
At Copper Fit, we’ve been through the frustrating cycle of soreness, tension, and delayed recovery—and we believe there’s a better way. That’s why we designed our compression sleeves and wraps to work with your body during both movement and rest.
Our products use gentle compression to help support healthy blood flow and muscle function, ease discomfort, and promote recovery—so you can get back to doing what you love. Whether you're training or recovering, our gear is built to keep up with you.
We’re here to help you stay active, feel better, and move forward—one move at a time.
Sources:
Shoulder Pain - Symptoms and Causes | Penn Medicine
Local Heat Therapy to Accelerate Recovery After Exercise-Induced Muscle Damage | PMC